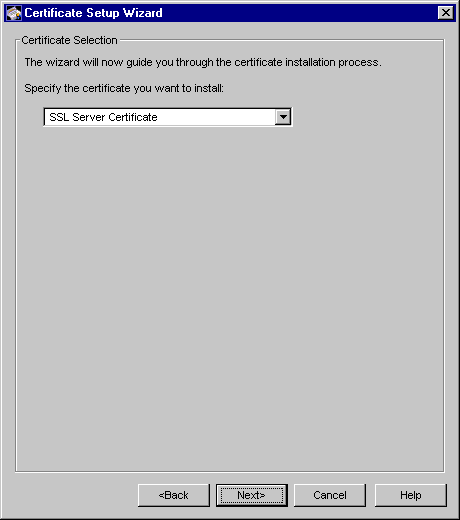
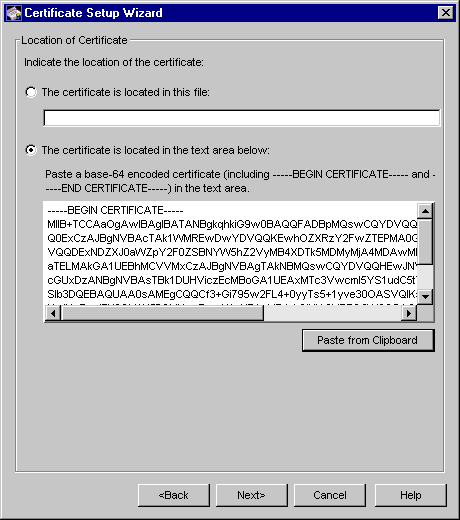
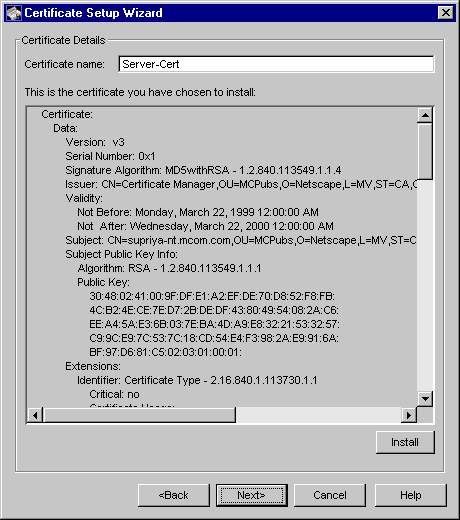
In a certificate chain, each certificate in the chain is encoded as a separate
DER-encoded object. When the wizard imports a certificate chain, it imports
these objects one after the other, all the way up the chain to the last
certificate, which may or may not be the root CA certificate. If any of the
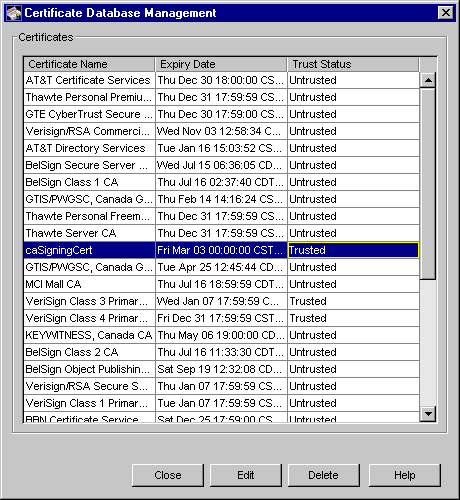
certificates in the chain already exist in the local certificate database, the
wizard replaces them by the ones included in the chain. If the chain
includes intermediate CA certificates, the wizard adds them to the certificate
database as untrusted CA certificates.